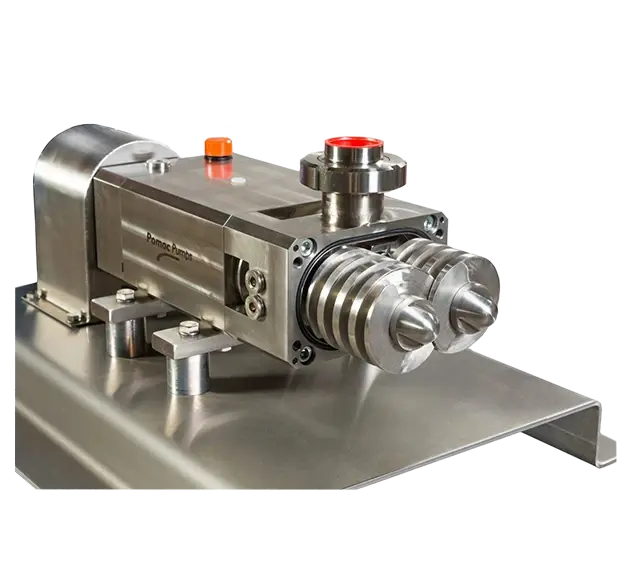
What is a Twin Screw Pump?
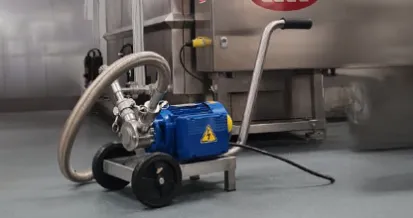
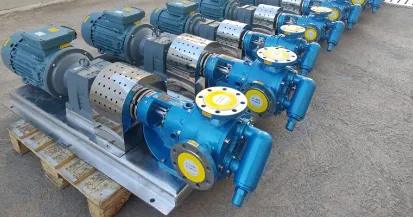
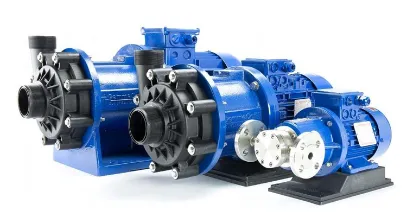
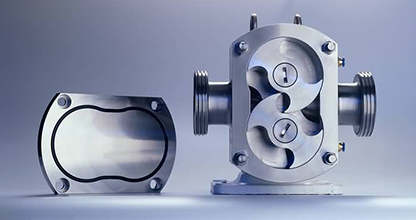
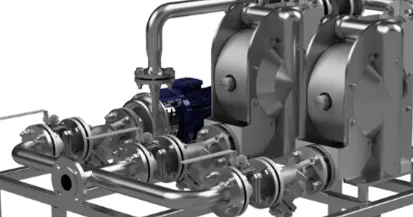
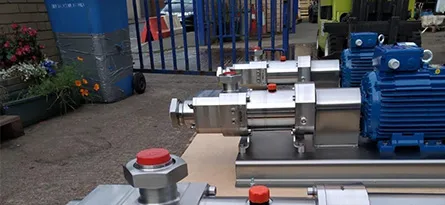
A Twin Screw Pump is a rotary positive displacement pump that uses two intermeshing screws to move liquids through the pump casing. These screws rotate in opposite directions without touching, creating a vacuum at the suction side, which draws liquid into the pump. As the screws rotate, they push the liquid through the discharge port, ensuring smooth and pulsation-free flow.
Applications of Twin Screw Pumps
Twin Screw Pumps are versatile and widely used across various industries, including Pharmaceuticals, Chemicals, and Food Processing. Common applications include:
- Clean-in-Place (CIP) and Sterilise-in-Place (SIP) operations
- Feeding, filling, and dosing for hygienic processes
- Loading and unloading of fluids
- Suction and transfer of products with varying viscosities
Key Advantages of Twin Screw Pumps
- Hygienic Design: Certified to EHEDG standards, making it ideal for sanitary applications (if your application requires the highest level of cleanliness and certification, our EHEDG-certified Sanitary Twin Screw Pump is the ideal solution for your operation)
- Versatile Handling: Capable of handling both low and high-viscosity fluids, as well as solids up to 60mm, without causing damage
- Self-Priming: Can prime up to 8 meters and can dry run for brief periods without damage
- High-Temperature Tolerance: Operates with fluids at temperatures up to 140°C
- Smooth, Pulsation-Free Flow: Provides steady flow, which is essential for applications requiring non-pulsating output
Common Malfunctions & Their Solutions
A malfunction in the Twin Screw Pump system may not always be due to the pump itself. It could be linked to installation, operating conditions, or issues with the pipework and accessories. Before troubleshooting, check:
- Correct Pump Installation: Ensure proper installation
- Operating Conditions: Verify that conditions match initial specifications
- System Components: Ensure all pipework and accessories are functioning
Here are some common malfunctions of a Twin Screw Pump:
- No flow
- Irregular flow
- Low capacity
- Pump or motor overheating
- Excessive vibration or noise
- Excessive screw/rotor or shaft sealing wear
- Pump seizing or failing at start-up
| Malfunction | Possible Causes | Solutions |
| No Flow | Wrong direction of rotation | Have a qualified electrician reverse the motor’s direction |
| Pump not filled with liquid | Fill the pump casing and fit a non-return valve on the suction side | |
| No/Irregular Flow, Low Capacity | Insufficient suction pressure/NPSHa | Increase suction pressure, lower pump, enlarge suction pipe, reduce speed, or adjust product temperature |
| Air, gas, or vapors in the suction line | Vent the suction pipe/pump, check connections, and increase static head | |
| Viscosity too high or too low | Adjust speed or product temperature | |
| Pump Overheats | Product temperature too high | Cool the product or pump casing |
| Foreign particles in product | Clean system, install a suction filter | |
| Delivery side pressure too high | Check for obstructions in discharge pipework | |
| Motor Overheats | Distorted pump casing due to piping | Check alignment, support piping, and use flexible couplings. |
| Excessive Wear | Speed to high or too low | Adjust pump speed accordingly |
| Insufficient flushing | Increase flushing capacity/pressure | |
| Worn bearings/gears | Replace worn parts | |
| Excessive Noise | High pressure, insufficient suction, or misaligned piping | Reduce discharge pressure, check suction, or realign piping |
| Pump Seizes/Stops Upon Start-up | High delivery pressure, overheating, or lack of lubrication | Lower the pressure, ensure proper cooling, and check lubrication system |
Inspection & Maintenance Schedule
Routine Checks:
Routine maintenance prevents costly downtime. It is recommended to regularly inspect:
- Pump Functionality: Listen for excessive noise, inspect the bearing and gear for wear, look for signs of cavitation etc.
- Flushing System: Check pressure and flow rates
- Heating/Cooling System: Ensure correct temperature regulation
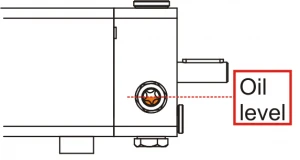
- Gearbox Oil Level: Ensure oil is at the centre of the visual level indicator when at a standstill
Oil Change Intervals:
- First Oil Change: After 300 operating hours
- Regular Use: Every 3000 operating hours or every 3 months
- Infrequent Use: Every 2000 hours or every 3 months
Preventative Maintenance Schedule:
| Inspection Interval | Component | Inspection Duty | Preventative Action |
| Daily | Quench/Flushing System | Check quench/flush pressure and flow | Adjust as necessary when at a standstill |
| Gearbox | Check oil level | Top up if necessary | |
| Mechanical/Lip Seals | Inspect for leaks | Replace seals if faulty | |
| System | Perform functional check of pump | Switch off pump if irregularities are found, and troubleshoot | |
| Connections | Inspect for leaks | Repair if leaking | |
| Weekly | Drive | Ensure drive operates within specifications | Switch off and resolve cause if irregularities are found |

